Creating Posts in WordPress the Practical Way
Creating posts in WordPress: draft in the Block Editor, set categories and tags, add stable images, then publish with a repeatable check.
You've got notes open, a title in mind, and WordPress asking whether you want a post or a page. You pick one, write for an hour, publish, and then can't find the piece on your homepage or in your feed. That's the common first mistake with creating posts in WordPress, and it happens before you type a word.
Treat creating posts in WordPress as a repeatable procedure, not a theme task. Draft, place, prepare, check, publish, then read the live URL as a visitor would. If the live page fails, you aren't done yet.
Choose a Post or Page Before Editing
Decide the content type before the editor opens, because that choice controls your blog home, archives, and feeds. The WordPress documentation on creating pages explains that a post appears on the blog's home page in reverse chronological order and belongs in the normal RSS or Atom feed, while a page sits outside that chronology and isn't included in those feeds.
Use a post for a weekly explainer, product update, or news note. Use a page for an About page, contact details, privacy policy, or services overview, material that should stay put rather than push older work down a list.
Where posts and pages show up
| Content job | Use | Blog home | Normal RSS or Atom feed |
|---|---|---|---|
| Timely article, news, or announcement | Post | Yes, newest first | Yes |
| About, contact, or standing policy | Page | No | No |
| Topic archive | Generated from categories or tags | Only if the theme lists it | No, its posts are in the feed |
| Announcement that stays on top | Sticky post | Pinned to top of posts list | Yes |
Don't rebuild a topic archive as a page. Category and tag archives are generated from the posts you assign, and you can go further with custom post types and taxonomies once the basics are solid.
If an announcement must also sit in your menu, publish it as a post and add a menu link to it. Converting it to a page keeps it out of the feed. A sticky post solves the other version of this problem, since it stays at the top of the posts list without leaving the feed.
Practical rule: If readers should find it by date or through a feed, it's a post.
Once you've settled that, go to Posts, choose Add Post, and leave colors and fonts alone. Theme choices don't fix a wrong content type.
How to Draft a Post in the Block Editor
Work through one real draft in a single sitting. Say you're writing a practical roundup for readers who can't pay for software. Your notes might cover free office tools, free tools in general, free ai tools online, free ocr tools, free editing tools for videos, free tools for video editing, free daemon tools, free zip tools, free pro tools download, pro tools free download, free keyword tools, free keyword tool, free tools like photoshop, free budgeting tools, free humanizer tools, free tools online, free wireframe tools, free bi tools, free visualization tools, free writing tools, free drawing tools, free crm tools, and free map tools.
That's a topic list, not a post. Pick one outcome for one reader, then draft. A focused draft on picking a keyword tool will read better than twenty three shallow sections stitched together.
The three-part flow below keeps this first pass simple.
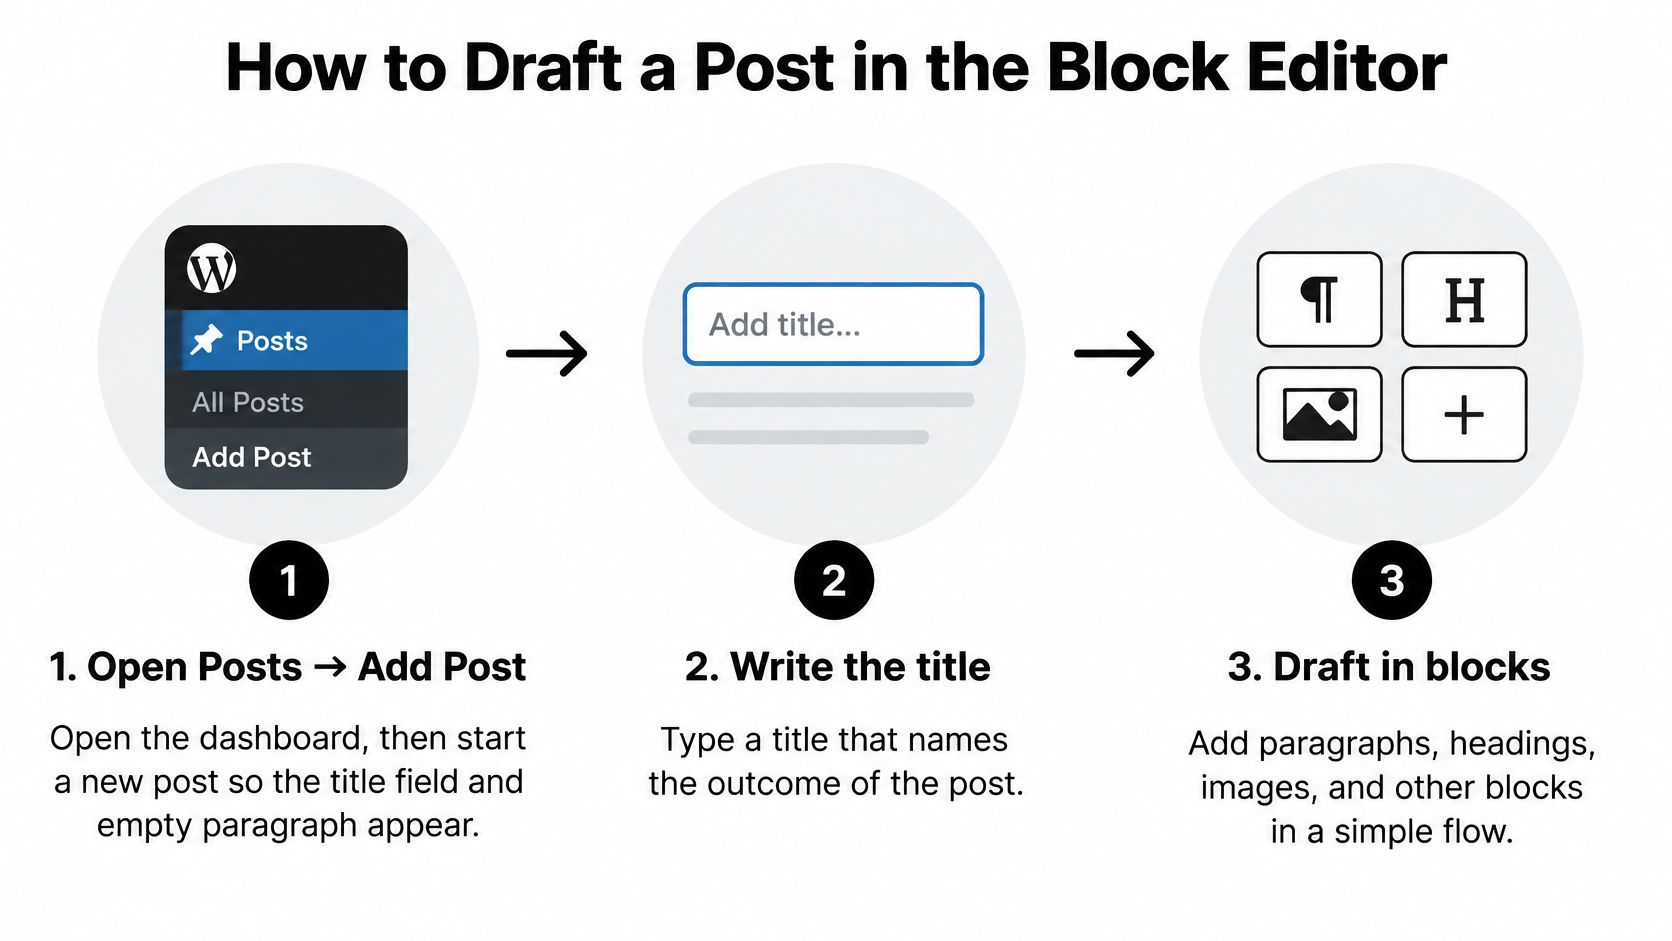
Steps 1 to 4 in the editor
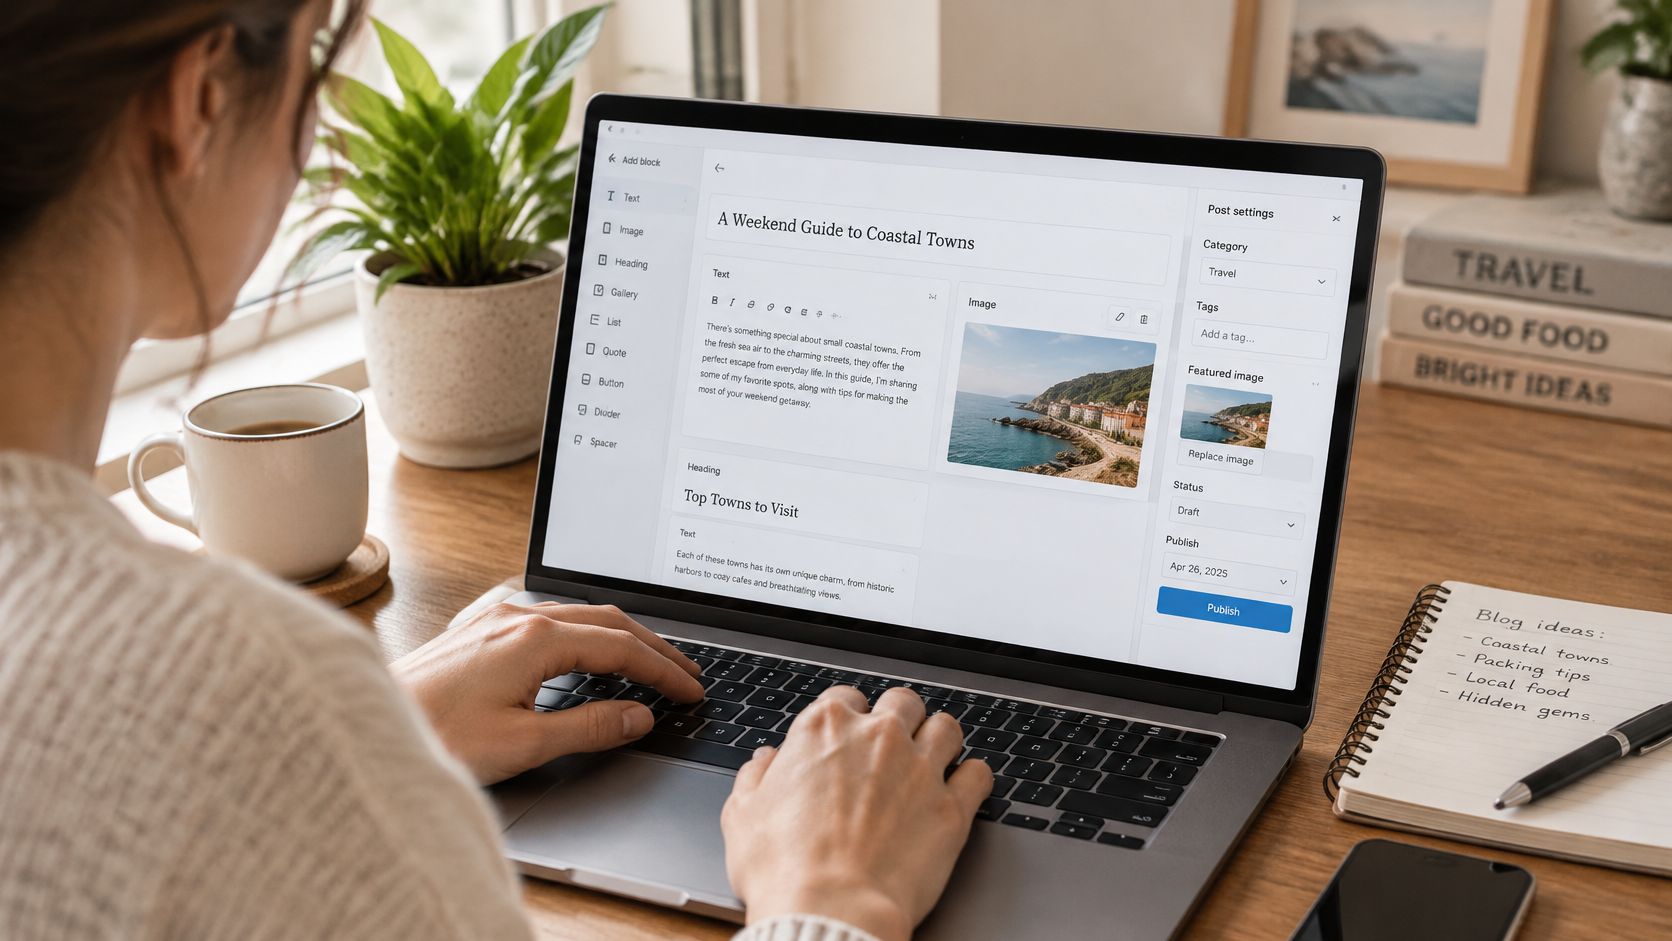
- Open Posts then Add Post. The title field and an empty paragraph load. If you don't see them, you're probably in Pages, so back out before writing.
- Type a title that names the outcome. "How to Reset a WordPress Plugin Without Losing Settings" tells a reader what they'll get. Press Enter to move into the body. That title is your only H1, so don't add a Heading block at level 1.
- Write the opening paragraph in plain sentences. State the reader's situation and what they'll be able to do by the end. Skip the long warm up.
- Add blocks with the plus inserter or a slash command. Type /heading, /list, /quote, or /image and pick the block you need. Paragraph is the default, so plain typing always works.
Set section headings to H2 and subsections to H3. Don't skip a level to make text bigger, because screen reader users move through headings by level, not by font size. If a heading looks wrong at the right level, that's a theme issue to note for later, not a reason to break your outline.
Steps 5 to 8 before you stop
- Use the block toolbar for bold, links, and lists. Select text and the toolbar appears above the block. Write link text that states the destination, such as "our guide to resetting plugins," not "click here." Add only two or three links that continue the reader's task.
- Open List view to check the whole draft. It's the stacked lines icon in the top toolbar. Drag blocks into order, delete empty paragraphs you left by accident, and read the headings top to bottom. If the outline doesn't make sense on its own, the post won't either.
- Choose Save draft before you leave the tab. Autosave helps, but an explicit save is what you can trust when you reopen the draft on another device.
- Open Preview at two widths. Check the draft at desktop width, then switch to the phone preview. You're looking for cramped headings, lists that run together, and images crowding the text.
One quote block works well for a single sentence you want a skimming reader to notice. More than two in a post and none of them stand out.
Stop when the draft reads in order from title to final paragraph. Don't fiddle with categories or compress images mid draft, because switching tasks is how drafts end up half written and half formatted. Those jobs have their own passes, and each one is quicker when the words are already settled.
A common confusion at this point is the difference between the block toolbar, which changes the selected block, and the sidebar, which changes the whole post. If you can't find a setting, ask yourself whether it affects one paragraph or the entire piece. That question sends you to the right panel almost every time.
Set Categories Tags and Excerpt in the Sidebar
Open the Post tab in the right sidebar. If you see settings for a paragraph instead, you've got the Block tab selected, so click Post at the top of the sidebar. Each control here is a small decision about where the finished piece lives and how it's described.
Pick one or two categories that match sections you'll still use in six months. "Tutorials" will age well, while "March Updates" won't. Create a new category only when several future posts will share it.
Add three to five tags for specific terms a reader might type into site search. Don't repeat the category name as a tag, since that creates two archives holding the same posts. Then write an excerpt of one or two sentences, because archives and feeds often show it instead of a first paragraph that gets cut off mid thought.
Document sidebar settings for a new post
| Setting | What it changes | Set it when |
|---|---|---|
| Status | Draft, pending review, or published | The piece is not ready for a public URL |
| Visibility | Public, private, or password protected | Not every visitor should open it |
| Publish date | Immediate publish, schedule, or corrected date | Timing matters more than the moment you finish |
| Categories | Broad archive sections | One or two lasting sections fit the topic |
| Tags | Narrow labels used in search and tag archives | A specific phrase is worth finding later |
| Excerpt | Summary in archives and feeds | The opening paragraph is a weak summary |
| Slug | Words at the end of the URL | The title is long or unclear |
| Featured image | Image many themes use in listings | The theme shows cards or a hero |
| Discussion | Comments open or closed | You are willing to moderate replies |
Check the slug next. Keep it short, lowercase, and hyphenated, and drop filler words such as "a" and "the" when the title is long. Leave visibility public unless the piece is private or password protected, and keep status at draft until your later checks pass. Turn discussion on only if you'll moderate replies.
One detail surprises new editors. When a user edits or publishes an article, a cookie is saved that contains only the post ID and expires after one day. It helps WordPress track what you were working on, and it isn't reader facing.
Prepare Images That Hold Still on the Live Page
Prepare each image before upload, not after a reader complains. The screenshot below shows the resize and compress step that most beginners skip.
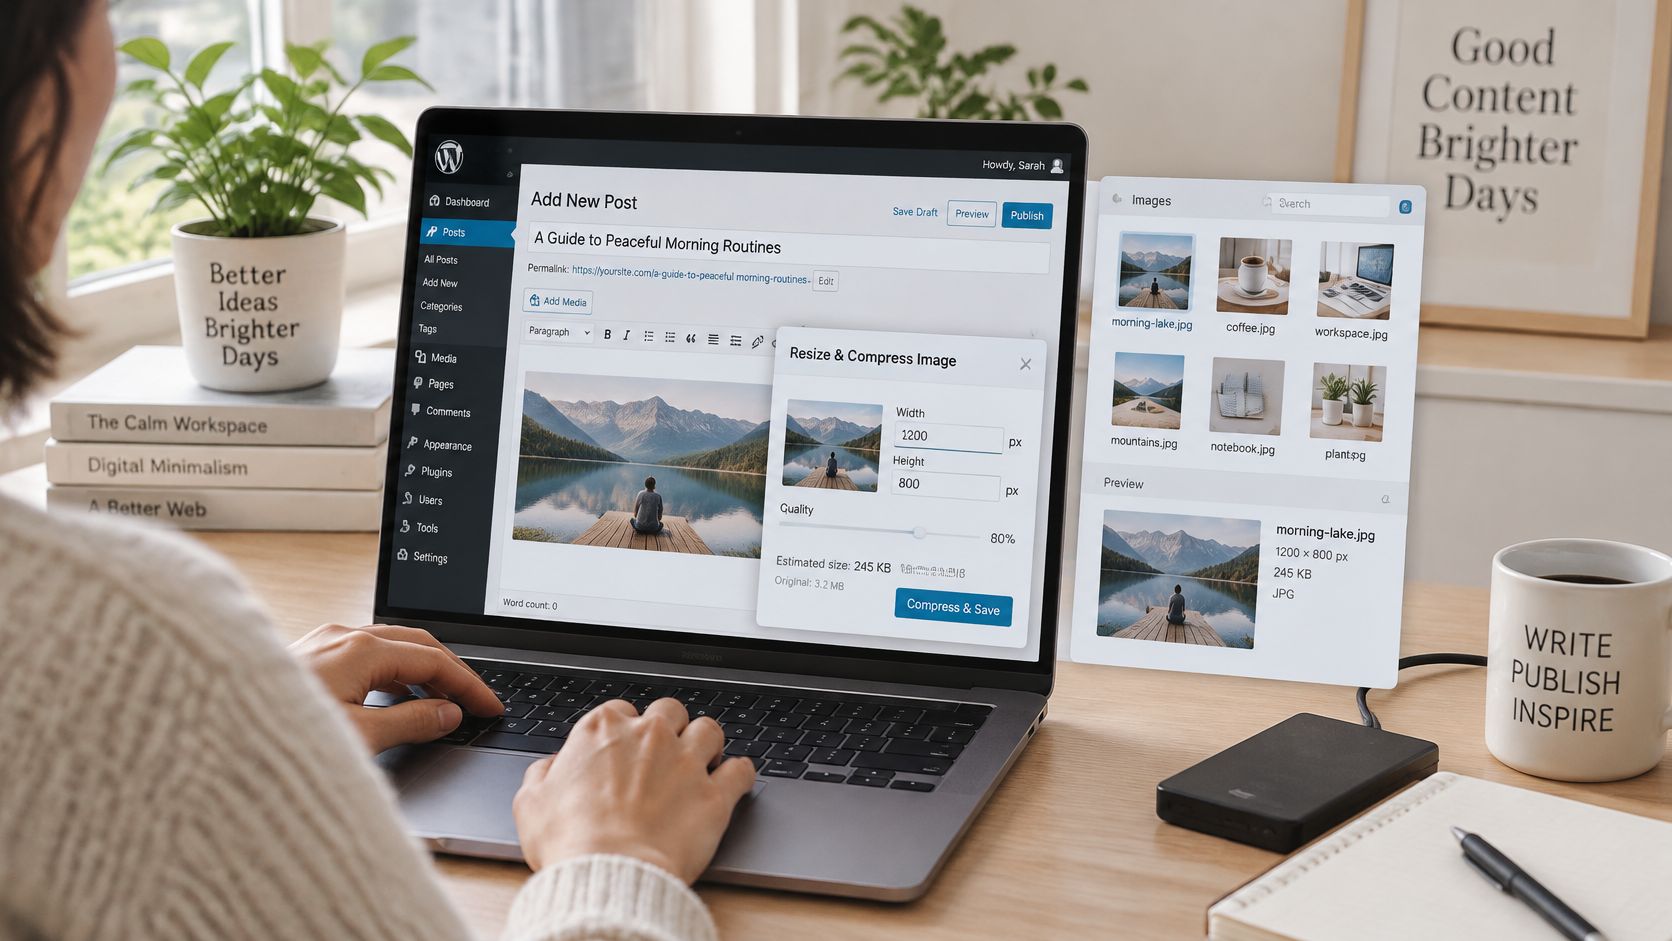
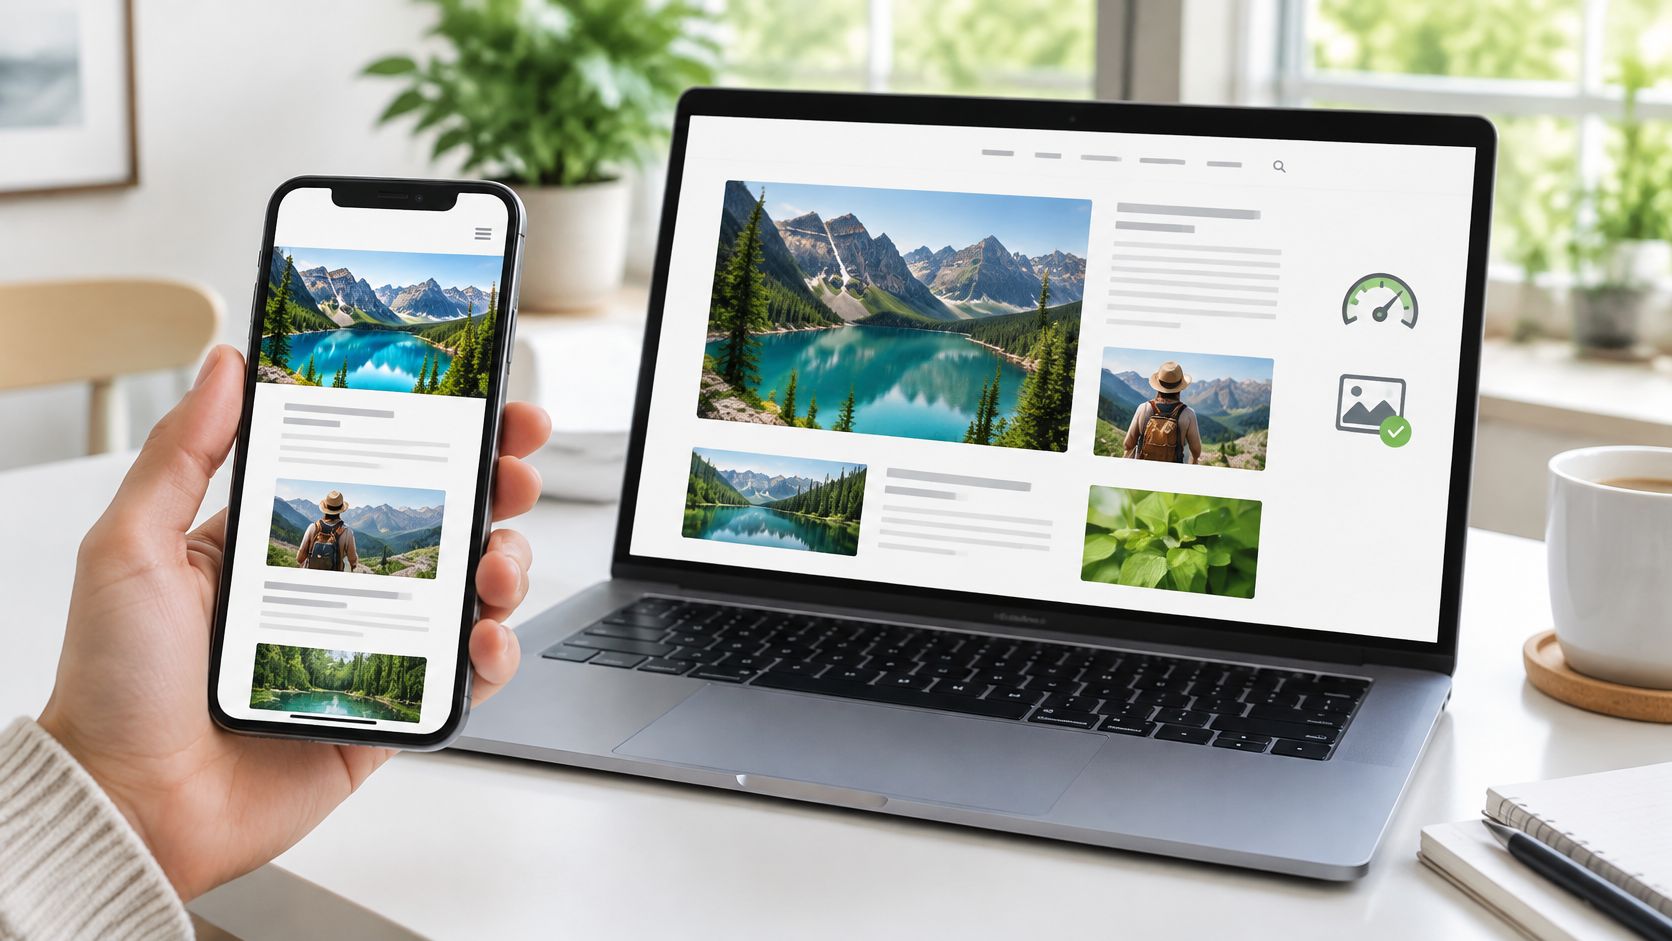
Export photos near their display size. For a full column image, 1200 to 1600 pixels wide is usually plenty, and compressing the file keeps a hero image well below the several megabyte size of a camera original. Your phone's original photo is built for printing, not for a blog column.
Size label and place each image
- Set width and height in the Image block. Those dimensions let the browser reserve space before the file loads, so text doesn't jump down the page.
- Write alt text that says why the picture is there. "Settings screen showing the reset button" helps. The filename "IMG_4021" doesn't.
- Leave alt text empty for a purely decorative image. Screen readers then skip it instead of announcing clutter.
- Use a caption to add a fact the picture can't show. A date, a place, or a result works well.
Google's Core Web Vitals guidance for Search sets the bar at the 75th percentile of visits, with Largest Contentful Paint at or below 2.5 seconds, Interaction to Next Paint at or below 200 milliseconds, and Cumulative Layout Shift at or below 0.1. Reserved image space is what keeps that last number down on an ordinary post.
Place your main image after the title or opening paragraph. Keep autoplay video and third party embeds below the first paragraph, since they load slowly and push content around. For a gallery, pick one crop ratio for every image so rows don't stagger on a phone.
The walkthrough below shows the upload and placement steps in the editor.
If the finished page turns out slow, shrink your largest image first. One oversized hero usually costs more than everything else on the page combined.
Run a Keyboard and Heading Check Before Publishing
A post can look tidy in the editor and still fail a real reader. The WordPress 6.8 release announcement notes that the version released in April 2025 added more than 100 accessibility fixes across focus management, modal dialogs, color contrast, motion preferences, and keyboard resizing. Those fixes help, but they can't fix headings or links you wrote badly.
The checklist below turns those improvements into checks you can run yourself.
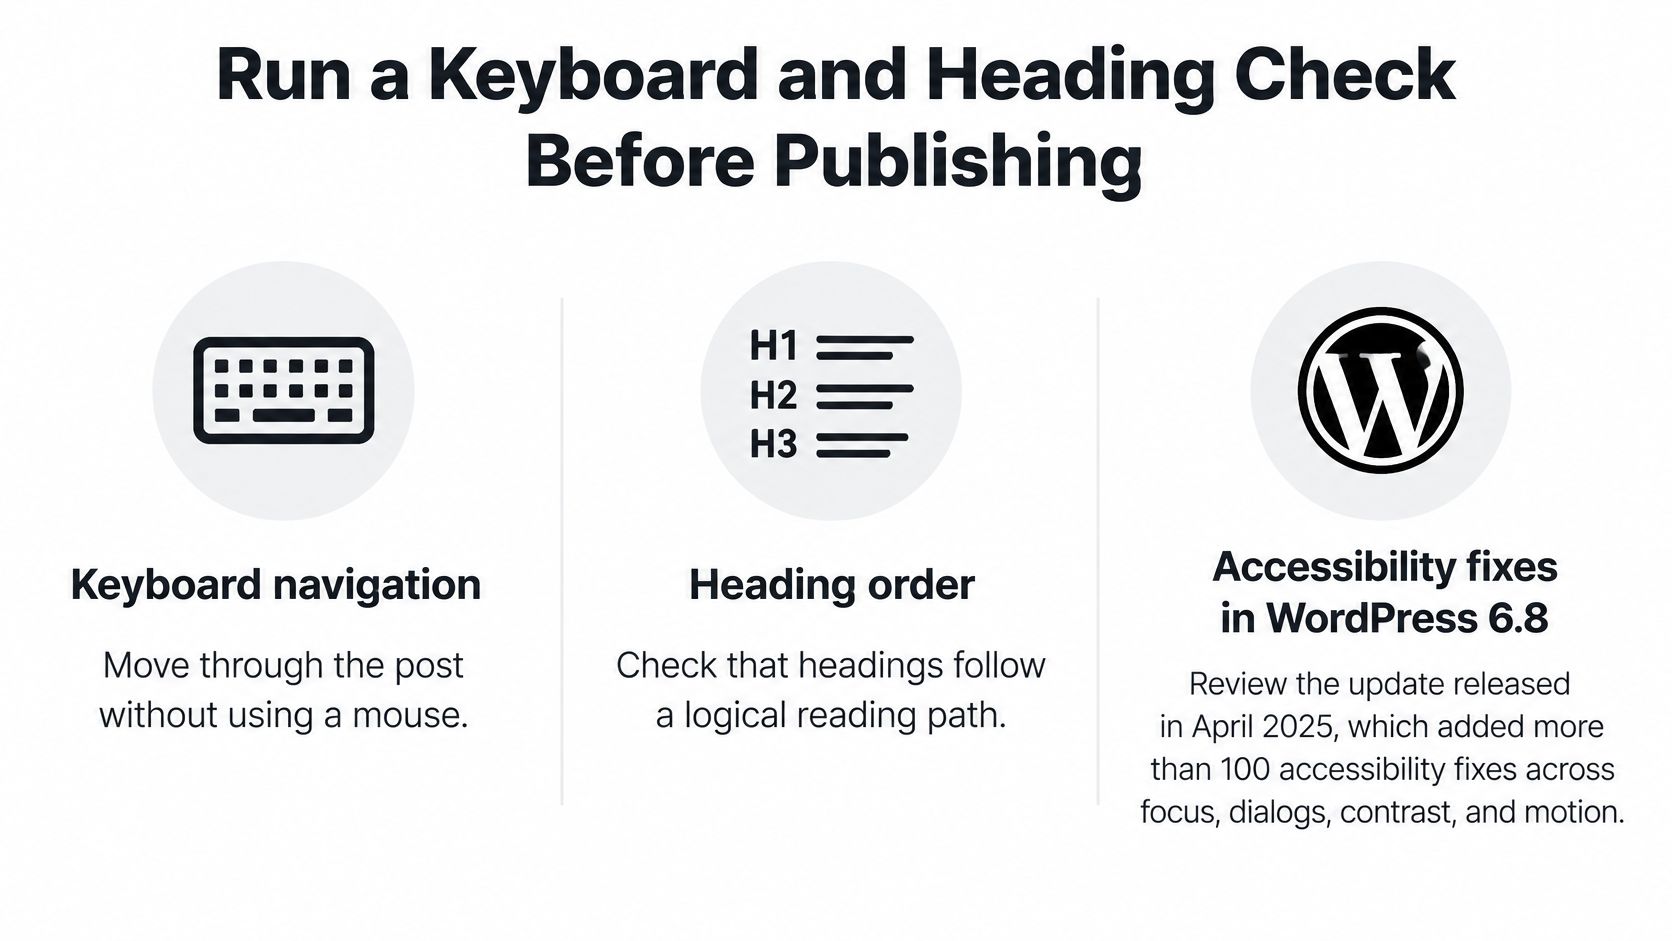
Six checks with the mouse put aside
- Press Tab from the top of the preview. Move through every link and button and confirm a visible focus outline appears on each one. If you lose track of where you are, a keyboard reader will too.
- Read the outline in List view. You want one H1 from the title, then H2 and H3 headings with no skipped level. Jumping from H2 to H4 reads like a missing chapter.
- Read each link text on its own. Cover the surrounding sentence with your hand if it helps. "Download the budget worksheet" passes, while "here" and "this page" don't.
- Confirm the alt text you wrote earlier is still there. Click each image and check the field. A filename or the word "image" means the step didn't save.
- Check any moving block. If something animates, confirm a reader who prefers reduced motion can still reach the same content without the movement.
- Preview at phone width. Read the first screen and watch for sideways scrolling, which usually means a wide table or an oversized image.
A visually clean post can still be inaccessible if its focus states and heading structure fail.
You don't need an expensive audit tool for this pass. A browser, a keyboard, and List view catch the problems that affect everyday readers. Fix every failure now, while the post is still a draft, because the same fixes after publishing mean editing a page people are already reading.
These checks matter even if rankings never move. A reader who can tab through your post and follow its headings gets the information either way, and that's the point of publishing it. Structure isn't decoration here. It's how the post works for someone who never sees your layout.
Publish and Verify the Live URL
Publish only when the draft, sidebar, media, and keyboard checks are done. Change status to Published, or pick a schedule date if the post should wait. Then close the editor in your head, because the next steps happen on the public page.
Open the permalink in a private window. That shows you the page a visitor sees, without your logged in toolbar masking problems. Confirm the title, opening lines, and featured image. Then load your blog home and confirm the new post sits at the top.
Check the feed and share the right link
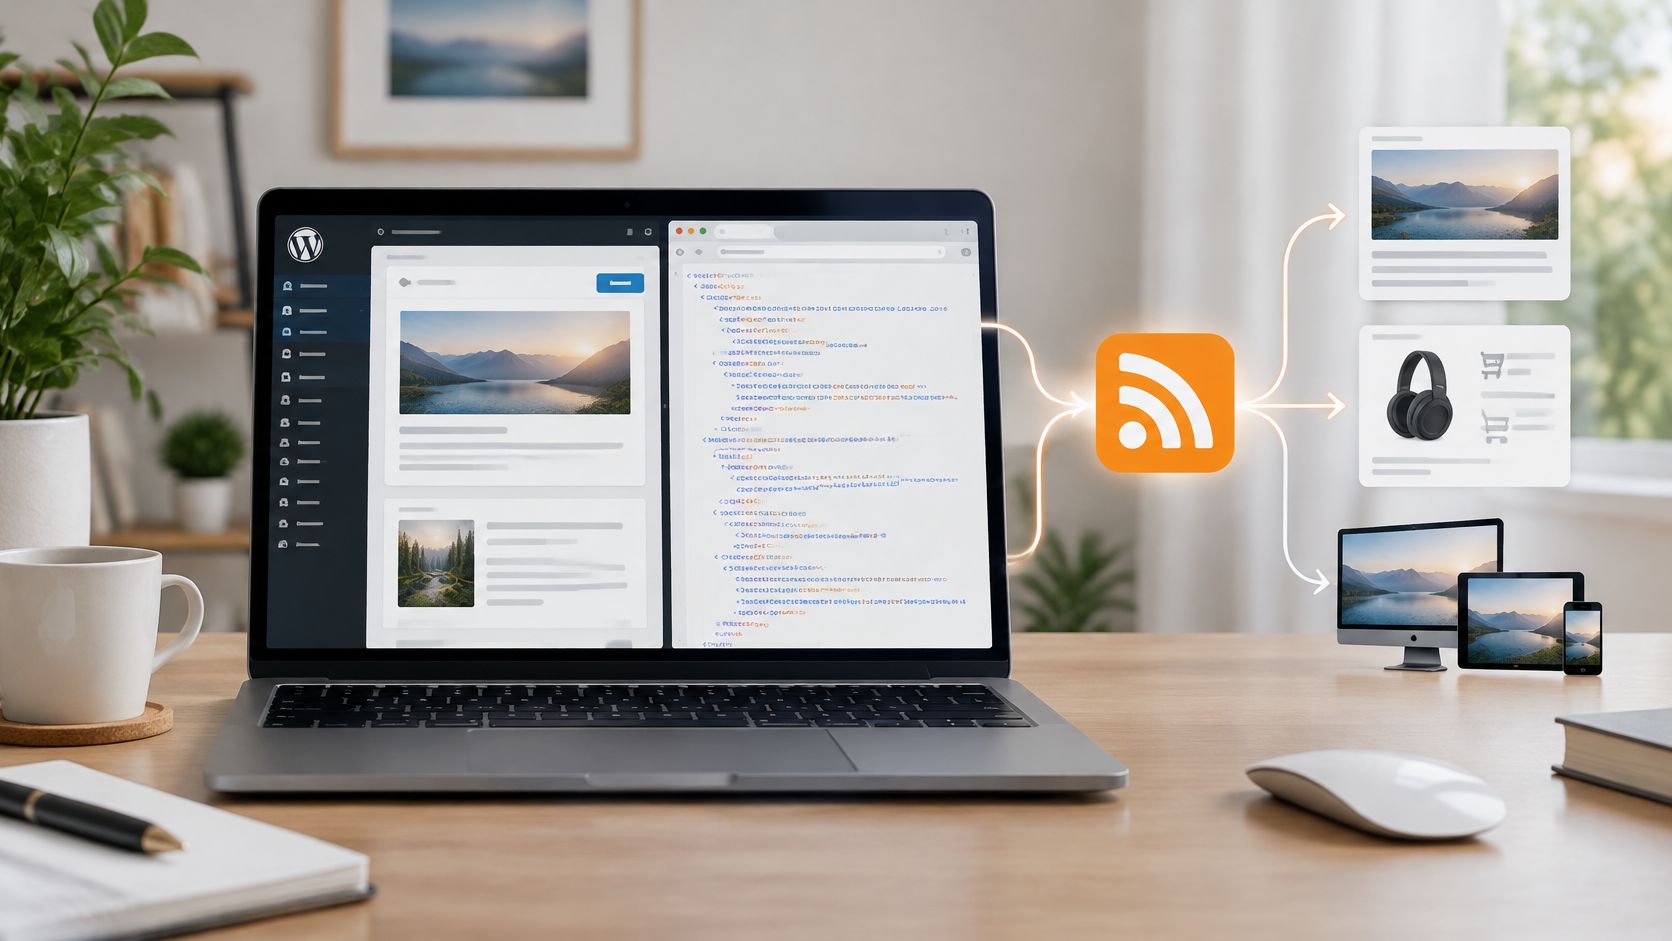
Add /feed/ to your site address and confirm the new item appears. Read More Info is a WordPress publication, and we offer a posts feed and a comments feed that readers can subscribe to in an RSS reader, so a missing feed item means subscribers never hear about the post. Share that public URL everywhere, never the wp-admin link, which sends visitors to a login screen.
- Title and excerpt read correctly in the feed item
- Featured image shows in listings where your theme uses cards
- Blog home lists the post first
- Feed item opens the same public URL you plan to share
Test speed on the page you actually shipped
Run the live URL through PageSpeed Insights with the mobile profile. Judging speed inside the editor tells you nothing, because the editor doesn't load your theme, your embeds, or a phone connection.
If the test flags your largest element and it's an image, shrink that file first, then look at plugins. Removing a plugin you barely use often helps more than tweaking settings inside three that you keep. Retest the same URL after each change so you know which fix worked.
Check Search Console field data over the following weeks. Lab scores come from one simulated visit, while field data reflects your actual readers on their actual phones. A post that passes in the lab can still struggle for readers on slow connections, and those readers are the ones who leave.
If comments are open, clear spam regularly rather than leaving threads unattended. A comment section full of junk links tells a new reader that nobody looks after the site.
Finish by reading your own feed item the way a subscriber would, from headline to final line. This last read catches the excerpt that cuts off awkwardly, the image that didn't carry over, and the link that points at a draft. Publishing isn't the end of the procedure. The reader test on the live URL is.
Fix Posts That Do Not Appear as Expected
Match the symptom to the setting before you start rewriting. Most "my post vanished" problems are one wrong control, not a broken site.
Missing from the blog home or the feed
Open the post and confirm status reads Published, not Scheduled, and that the date isn't in the future. Check visibility is public, since a private post won't show for logged out readers even though you can see it.
If your site uses a static front page, your latest posts appear only on the page assigned as the posts page under Settings then Reading. Check that assignment before editing the post itself. Many beginners rewrite a perfectly good post when the blog page was pointed somewhere else.
Missing from the feed usually means you created a page by mistake. Open the item and confirm it's under Posts, then reload your /feed/ address in a private window, since caching can delay an update by a few minutes.
Broken layout or a second large heading
When a phone reader reports a broken layout, reopen the rendered page at phone width. Look for images with no width and height, and for embeds loading above the first paragraph. Those two causes explain most jumping text.
If a second large heading shows above your title, your theme may be printing its own H1. Two H1 elements break the single heading outline you built while drafting, so check your theme's post template settings rather than demoting headings throughout the post.
Recheck every fix on the live URL in a private window, not in the editor. The editor will happily show you a correct looking page while your visitors still get the broken one.
Read More Info publishes practical WordPress guides like this one, covering everyday publishing tasks and the feeds that carry new posts to subscribers. If you're building your first content site, work through one post using this procedure, then browse Read More Info for the next job on your list.