WordPress Content Management System Tutorial for Beginners
Follow this WordPress content management system tutorial to install WordPress, set core settings, create posts and custom content types, and run your site.
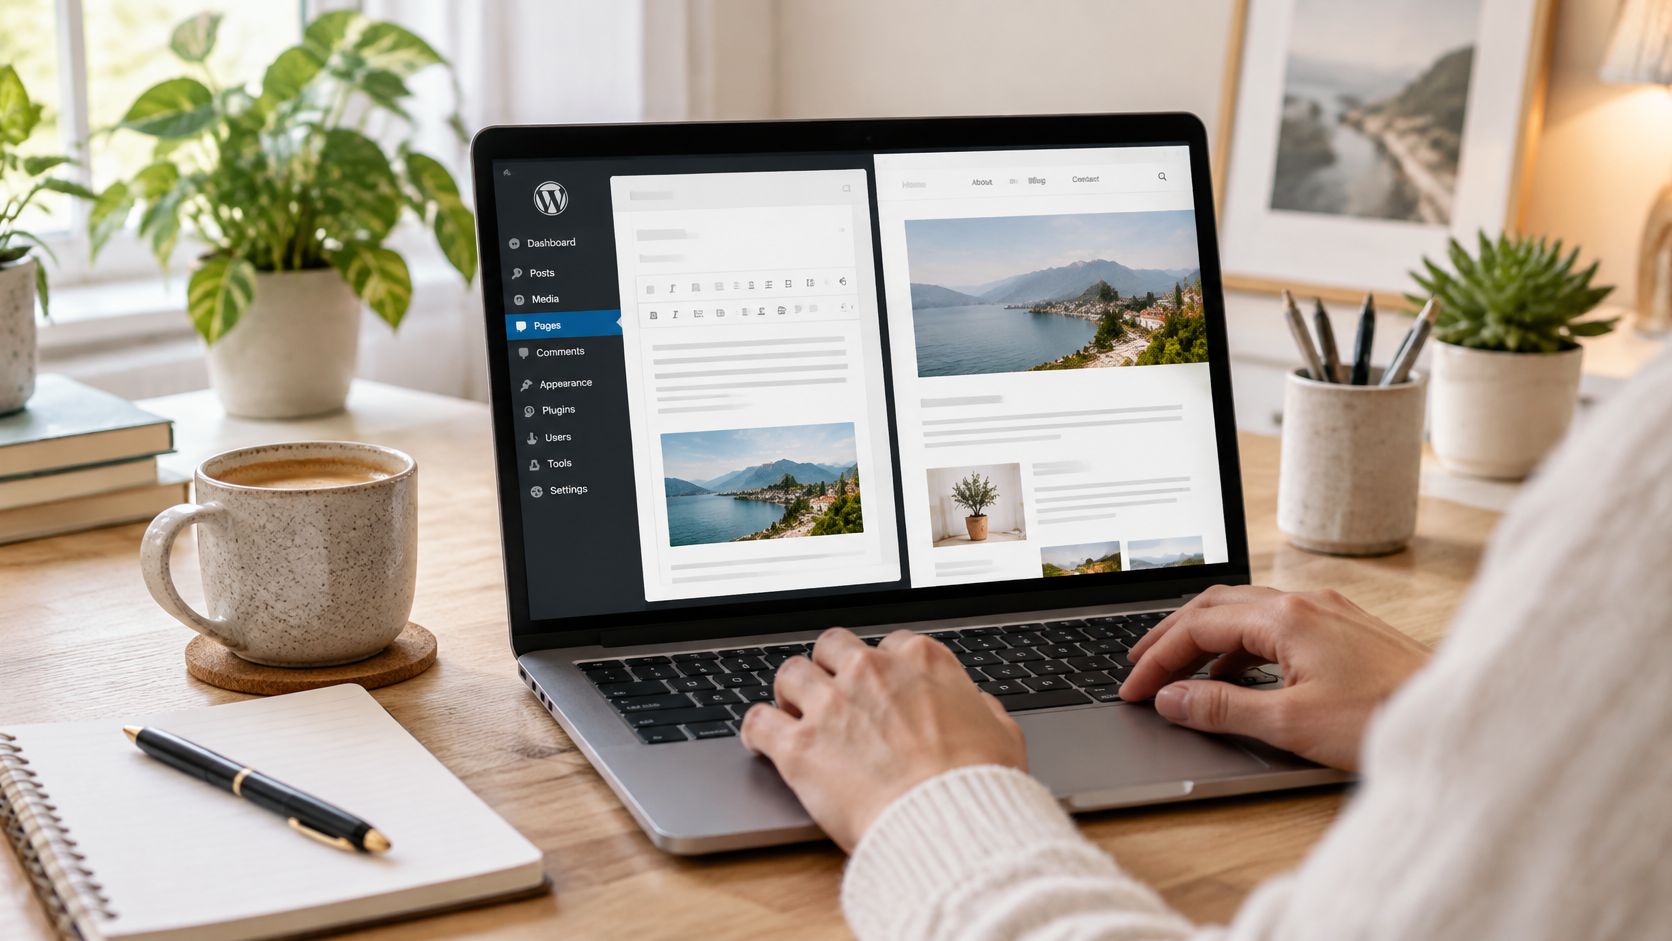
You want a blog and a services page, but the WordPress dashboard is asking you to think about posts, themes, plugins and permalinks. It's tempting to choose a design and start typing. A better first move is to make the decisions that keep your content organized, your addresses stable and your site recoverable.
This WordPress content management system tutorial takes a configure-first approach. You'll build a small working site, then check the details that determine whether visitors can read, find and subscribe to what you publish.
What WordPress Does as a Content Management System
Say you're launching a small consulting business. You need a services page that stays in the navigation, an About page that introduces you and a blog where you publish advice. WordPress manages those pieces without requiring you to rebuild the website whenever you add an article.
According to the WordPress version history, WordPress began in 2003 as an open-source blogging project forked from b2/cafelog and grew into a content management system.
The useful distinction is that WordPress keeps content, structure, presentation, functions and settings separate. Changing your theme doesn't rewrite your articles, although you should still check how their layouts look afterward.
WordPress components and what they control
| Component | What it controls | Where you manage it | Example |
|---|---|---|---|
| Content | Posts, pages and uploaded media | Posts, Pages and Media menus | A product update post with a screenshot |
| Structure | Categories, tags and menus | Posts > Categories and Appearance > Menus | A Guides category linked in the main menu |
| Presentation | Layout, fonts and colours | Appearance > Themes and the Site Editor | A theme that shows posts in a grid |
| Functions | Added features such as forms or backups | Plugins menu | A plugin that adds a contact form |
| Settings | Site title, time zone, reading and privacy options | Settings menu | Homepage set to show latest posts |
Understand what you're changing
Before clicking an unfamiliar control, ask whether you're changing an article, its organization or the template around it. Editing a post affects that item; editing a shared template can affect every post using it.
With a block theme, navigation usually lives in Appearance > Editor rather than the classic Menus screen. The underlying job is the same: choose which destinations visitors can reach.
Practical rule: Organize information before decorating it.
For repeated content beyond ordinary articles, understanding custom post types and taxonomies will help you avoid forcing everything into blog posts. Your finished site should have a live About page, a published post, a custom content type and a maintenance routine.
How to Install WordPress Step by Step
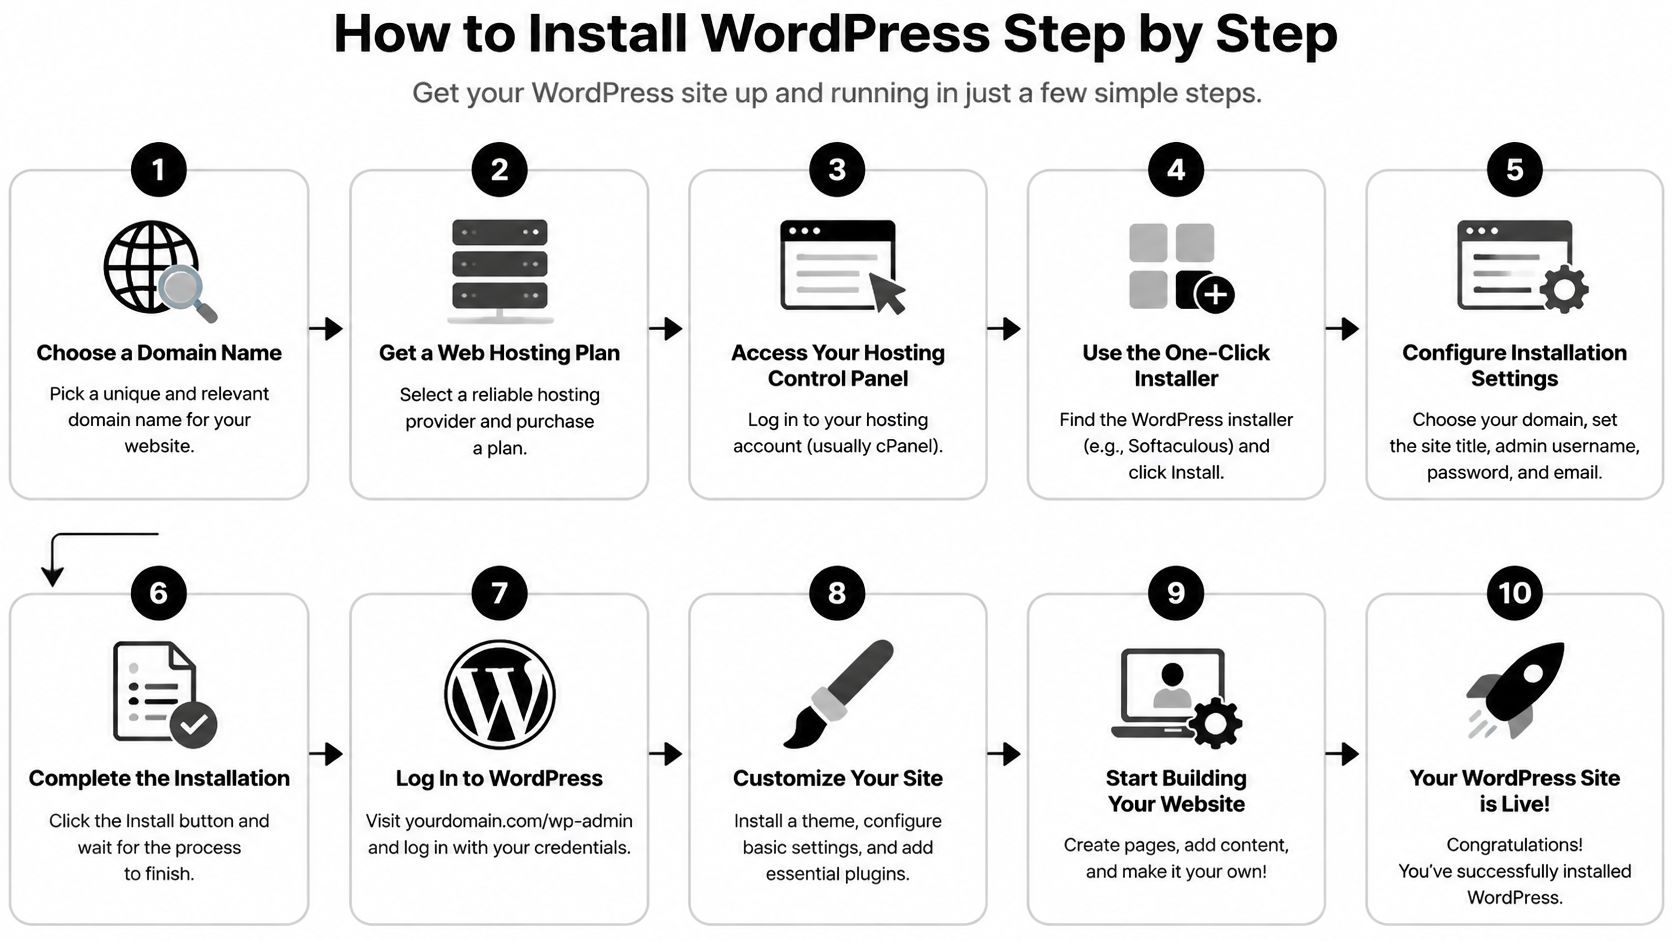
A successful installation gives you a working WordPress login from your hosting account. Allow about thirty minutes for the installer work as a planning allowance, not a guarantee; domain connection and certificate activation can require additional waiting.
These steps assume you're installing self-hosted WordPress through a hosting provider. Your hosting control panel manages the server account, while the WordPress dashboard manages the website.
Create the installation
Choose a suitable host. Look for a one-click WordPress installer, HTTPS support, a current supported PHP version and a control panel that's easy to use. Don't choose solely on an introductory offer, then discover that backups or basic account controls are awkward to use.
Connect your domain and enable HTTPS. Use the host's domain-connection workflow, then activate its included SSL certificate if available before installing. Leaving the site on plain HTTP produces insecure-connection indicators, while an invalid certificate can trigger a stronger browser warning.
Run the WordPress installer. Select the correct domain and installation location; an unintended subfolder can put your homepage somewhere you didn't expect. For a manual installation, create a MySQL database and user, grant the required permissions and securely record the database name, username and password.
Enter the site and administrator details. Add your site title, a username other than admin, a long unique password and a working recovery email address. A guessable administrator name removes an obstacle for automated login attempts, and an inaccessible email address makes recovery harder.
Open the administration screen. Visit your site's address with
/wp-adminappended and sign in using the credentials you just created. Store them in a password manager rather than an ordinary document shared with collaborators.Remove installation clutter. Delete the sample post, sample page and pre-installed plugins you won't use. Identify host-managed components before deleting them, since some provide account integration or caching.
Check the public homepage. Load it on a phone and a desktop, preferably while logged out. Confirm that styling and images load over HTTPS, rather than assuming a working dashboard proves the public site works.
Use this installation visual as a companion while you work.
Recognize a healthy starting point
The dashboard should load without errors, and an administrator can check the installed version in the dashboard footer or Updates screen. Before cleanup, the default sample content confirms that public rendering works; afterward, an empty blog or placeholder layout is normal.
Keep the default theme while configuring the site. If you later explore ways to get premium WordPress themes for free, distinguish legitimate promotions and licensed distributions from untrusted downloads.
Configure Core Settings Before You Publish
Choose your permalink structure before sharing links. Changing it later can leave visitors following old addresses unless you implement redirects. A short, descriptive post address is easier to maintain than a structure you chose without understanding it.
Work through General, Reading and Discussion, then Permalinks and Privacy. Save each screen separately so that unexpected behavior has an identifiable starting point.
Core settings to change before publishing
| Setting | Where to find it | Recommended value | Why it matters |
|---|---|---|---|
| Site title and tagline | Settings > General | Your publication name and one clear line about it | Can appear in browser tabs and search results |
| Time zone | Settings > General | Your local city time zone | Keeps scheduled posts publishing on time |
| Permalink structure | Settings > Permalinks | Post name | Creates short, readable URLs that stay stable |
| Homepage display | Settings > Reading | Latest posts for a blog, static page for a business site | Decides what visitors see first |
| Search engine visibility | Settings > Reading | Visible once launched, discouraged only during construction | Requests that search engines avoid indexing unfinished content |
| Comment moderation | Settings > Discussion | Hold first-time commenters for approval | Limits spam reaching readers |
| Privacy policy page | Settings > Privacy | A published policy page | Provides a destination for privacy links |
Make deliberate publishing choices
Choose a city-based time zone rather than guessing an offset. WordPress schedules posts according to that setting, so an incorrect zone can release an announcement earlier or later than you intended.
For a publication, latest posts makes the homepage an article listing. For a business, create a static Home page and assign a separate Posts page if you also want a blog.
Search engine visibility isn't a privacy control. Discouraging indexing doesn't prevent someone with the address from opening the site, so use access restrictions for private development work.
- Write a recognizable tagline. A visitor should understand what you publish within a quick glance, rather than having to interpret a slogan.
- Moderate new commenters. Review unfamiliar submissions before readers see them, then check the moderation queue regularly.
- Publish an accurate privacy policy. Use the Privacy screen to create or select the page, but edit its text to reflect your actual forms, analytics and embeds.
- Set your public author name. Under Users > Profile, choose a real name or an appropriate public byline instead of exposing an administrative username.
Change a setting, save it and test its effect before changing something unrelated.
Leave the WordPress Address and Site Address fields alone unless you're deliberately moving the installation. Finish by visiting the homepage, a test post and a page to confirm that their addresses and display match your choices.
Create Posts, Pages and Custom Content Types
Publishing everything as a post is an easy mistake to make and an awkward one to untangle later. Choose the content type according to how readers should encounter the information, rather than which Add New button you notice first.
The distinction is easier to see when you compare the available content containers.
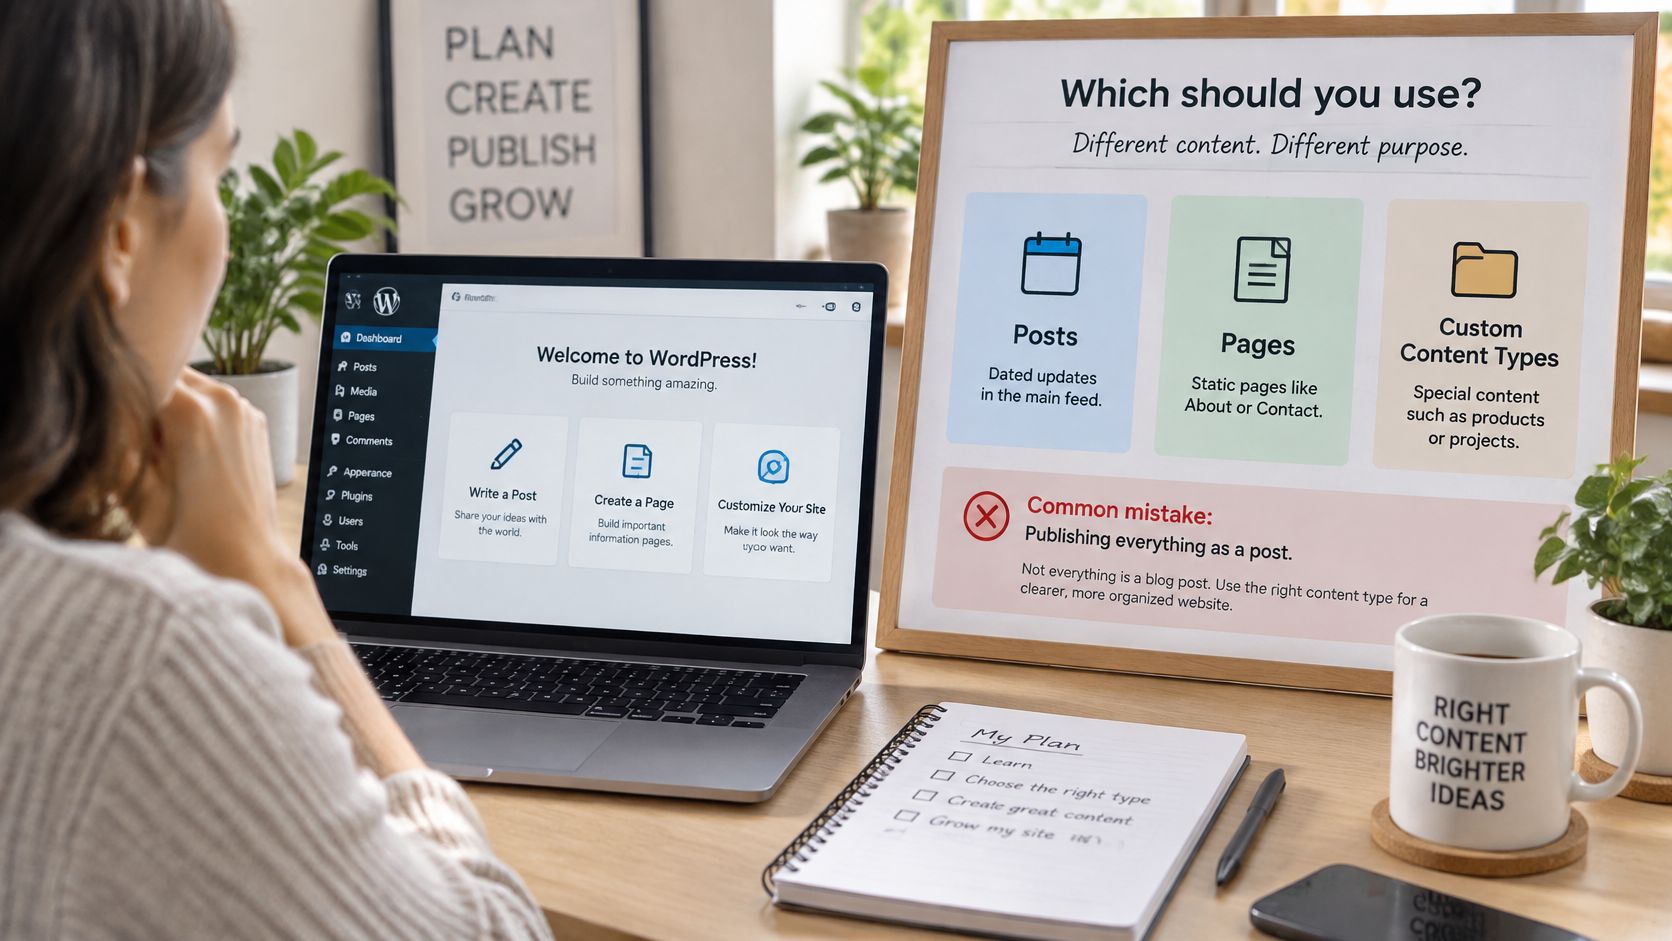
Which WordPress content type to use
| Content type | Best for | Shows in the main feed | Organized by | Example |
|---|---|---|---|---|
| Posts | Dated articles, updates and news | Yes | Categories and tags | A how-to article published each week |
| Pages | Evergreen sections such as About or Contact | No | Parent and child hierarchy | An About page with a Team subpage |
| Custom post type | Repeating items with the same fields | Only if you set it up | Custom taxonomies | A Case Study with client, result and date fields |
Publish your first article
Posts belong in dated publishing streams. Pages support lasting site sections and can have parent-child relationships; a custom post type gives a separate structure to repeated records.
- Open Posts > Add New.
- Enter a descriptive title and a short introduction that answers the reader's immediate question.
- Build the body with subheadings between groups of paragraphs. Add informative images with alt text that communicates their relevant meaning.
- Choose a main category and a small set of meaningful tags.
- Set the featured image and write an excerpt that summarizes the article without duplicating its opening unnecessarily.
- Preview at mobile and desktop widths, correct layout problems and publish.
The guide to creating posts in WordPress provides a focused reference for the editor workflow.
Good software doesn't automatically produce accessible content. The 2025 Web Almanac accessibility chapter reports that only 31% of mobile sites met minimum color-contrast requirements, a reason to inspect your actual design rather than trust its appearance.
For a visual editor walkthrough, use the video alongside your draft.
Build permanent pages and repeated records
Create an About page under Pages, then create Team and choose About as its parent. Publish both and add About through Appearance > Menus, or edit the Navigation block in the Site Editor.
For project work, register a Case Study content type with client name, result and date fields. Enable its archive and create a sample entry to confirm that the archive and individual record display correctly.
Use a dedicated content-type plugin where possible. A short registration snippet in a child theme survives parent-theme updates, but the content type's interface disappears if you switch away from that child theme; a site-specific plugin avoids that dependency.
For the consulting business's advice articles, choose two or three broad categories such as Guides and Case Studies, then reserve tags for a small set of meaningful terms like pricing, hiring or operations. If a Case Study content type handles project records, keep those records out of the blog categories so the article stream and the project archive stay distinct.
Manage Users, Updates, Backups and Speed
After launch, neglected updates, excessive administrator access and missing backups can turn a manageable problem into an outage. A reliable site needs an owner for maintenance, not just someone who occasionally notices an update notification.
Assign permissions according to the work each person performs. Don't give someone control over plugins and users just because they need to write an article.
Match access to responsibility
- Administrator: Controls site configuration, software and user accounts. Reserve this role for people responsible for operating the site.
- Editor: Manages publication content, including other people's posts. This suits a person overseeing the editorial calendar.
- Author: Publishes and manages their own posts, without broader site administration.
- Contributor: Prepares drafts but needs someone with publishing permissions to release them.
- Subscriber: Maintains a basic account without editorial publishing access.
Give most publishing staff Editor or Author, not Administrator. Use individual accounts so that you can remove access without changing everyone's login.
Ongoing site maintenance schedule
| Task | How often | Why it matters |
|---|---|---|
| Review user roles | Monthly | Removes former contributors and reduces admin accounts |
| Apply core, theme and plugin updates | Weekly, after a backup | Closes known security holes |
| Full site backup | Daily for active sites, and before every update | Makes rollback possible |
| Check uptime and page speed | Monthly | Catches slowdowns from new media or plugins |
| Remove unused plugins and themes | Quarterly | Leaves fewer components to update and defend |
| Test search and feeds after changes | After every theme or plugin change | Confirms readers can still find content and subscribe |
Treat this as a starting schedule, with urgent security fixes handled promptly. Back up the database and site files, keep a copy off the hosting server and test that you can restore it.
Use staging, a private copy of the site, when available. After backing up, update core, themes and plugins, then check the public site and important forms before considering the work complete.
Recovery check: A backup isn't a reliable recovery plan until you know how to restore it.
Measure speed before installing fixes
HTTP Archive's 2024 CMS measurements, discussed in its 2025 CMS chapter, put the median WordPress payload at approximately 2,047 KB on mobile and 2,252 KB on desktop. These are comparison points, not targets for your own pages.
Use PageSpeed Insights or your browser's developer tools to establish a baseline:
- Test representative homepage, archive and article URLs on mobile and desktop.
- Record Core Web Vitals, where available, and total transferred bytes.
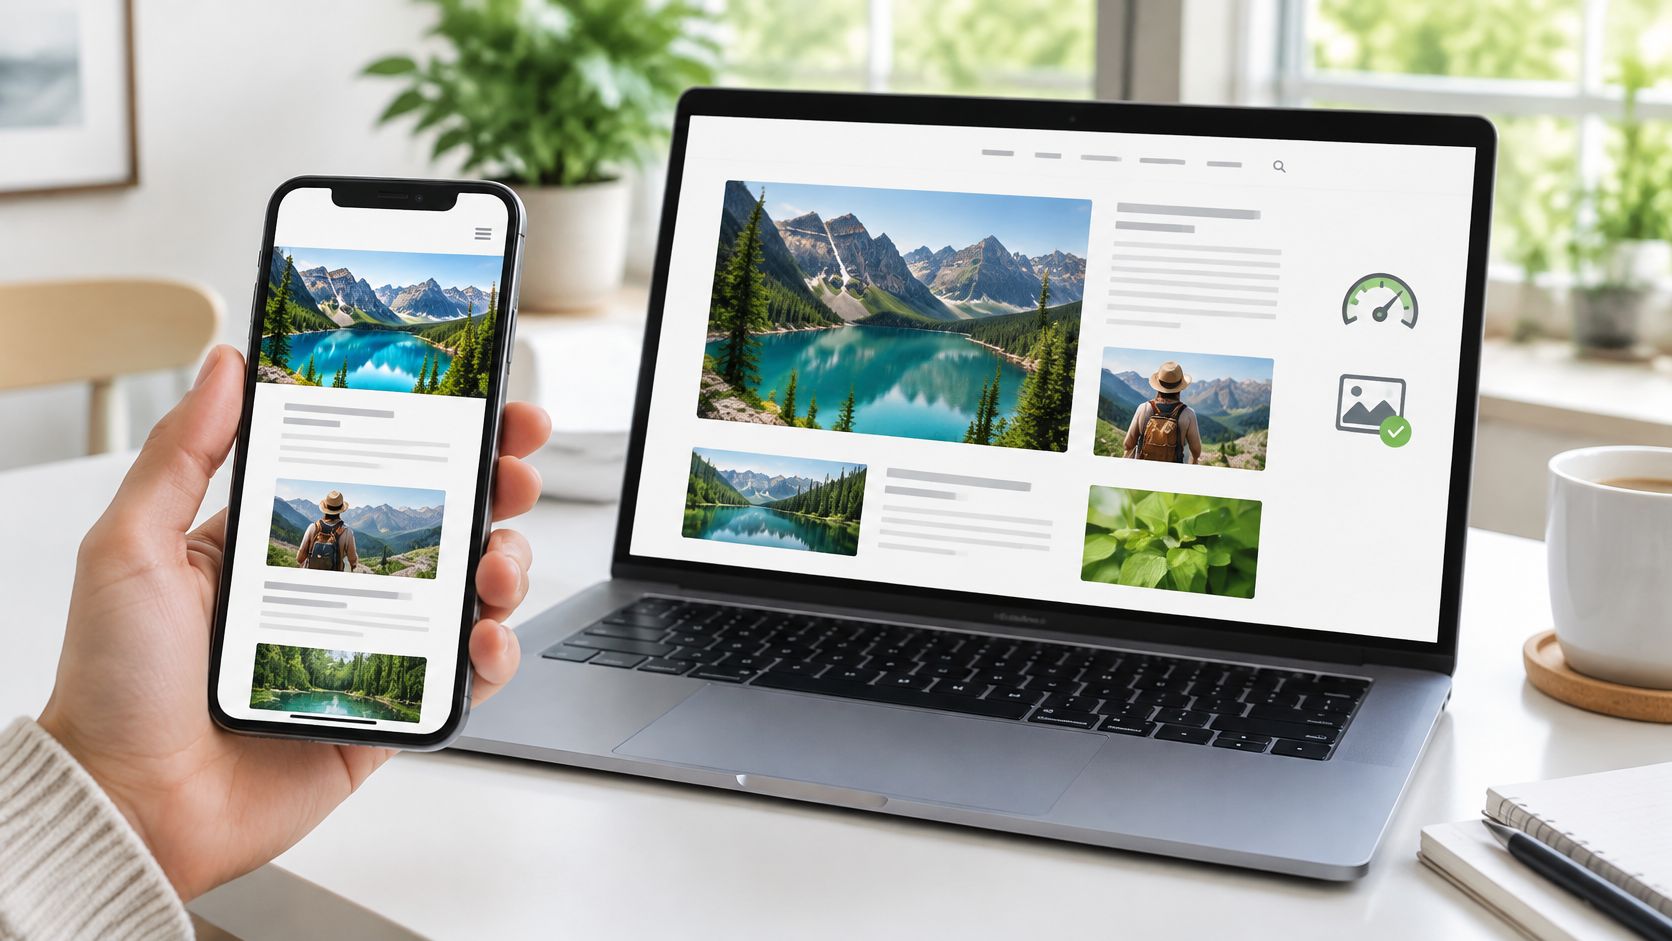
- Resize and compress the largest above-the-fold image, using WebP or AVIF when supported by your workflow.
- Enable native lazy loading below the fold, but don't lazy-load the primary hero image.
- Turn on page caching through the host or a compatible plugin.
- Retest after each change and retain a rollback point.
Avoid overlapping optimization plugins. Exclude personalized or logged-in pages from inappropriate caching, and investigate persistent object caching or a CDN only when measurements point to database or geographic latency.
For a small publication, start with article images and theme assets. A more complicated page builder won't correct an oversized photograph.
Verify Accessibility and Feeds Before You Share
Published isn't the same as usable or discoverable. The final check should follow the paths a reader takes: opening an article, navigating without a mouse, searching for missing information and subscribing through a feed reader.
Core accessibility improvements can help with interface behavior, but they can't choose meaningful link text or determine whether your image description makes sense. Theme choices, page-builder output, embeds and editorial habits still need direct testing.
Check the reading experience
Use the published article rather than relying only on the editor. Check the page while logged out so that the administrator toolbar and account permissions don't hide problems.
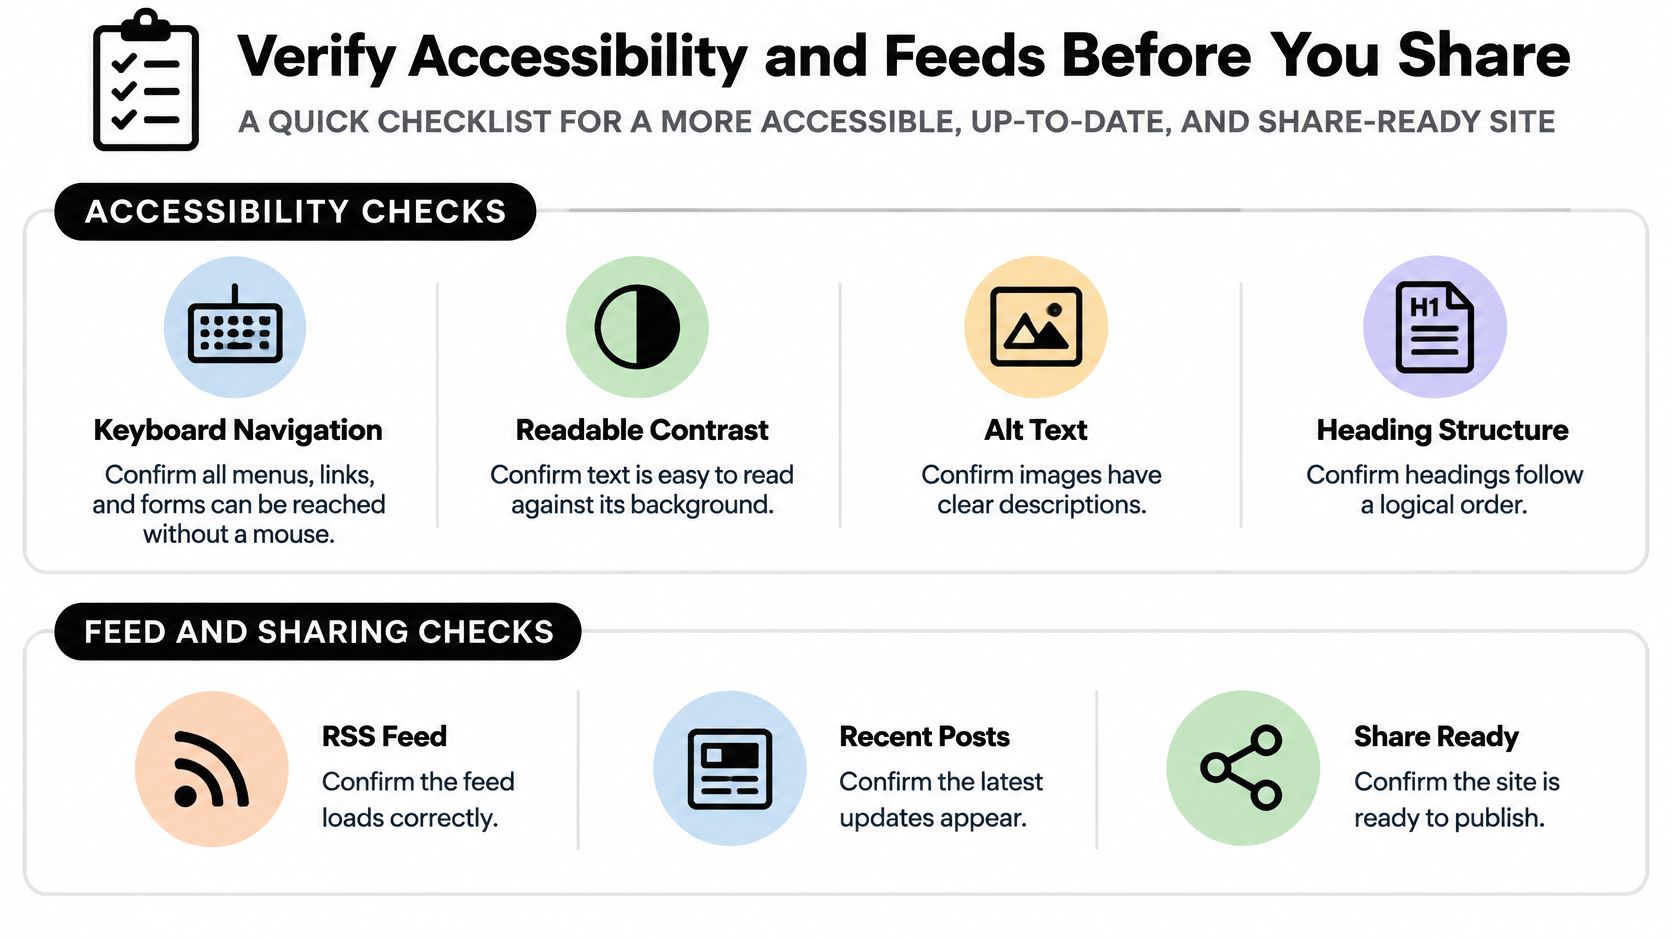
- Heading structure: Confirm the post has a descriptive main heading and that subheadings follow a logical order. Don't select heading levels merely to make text larger.
- Link purpose: Replace vague wording such as click here with text that identifies the destination or action.
- Image alternatives: Describe informative images according to their purpose. Mark purely decorative images appropriately instead of repeating surrounding text.
- Video access: Confirm embedded video has usable captions and that essential instructions aren't available only through audio.
- Readable contrast: Check text against its actual background, including buttons, links and text placed over photographs.
- Keyboard focus: Tab through the header, menu, search box and comment form. Every interactive control should be reachable, visibly focused and usable without a mouse.
Use this checklist as a final sign-off aid.
Validate the live publication
A visual inspection won't reveal every feed or performance problem. The WP-Optimize plugin page describes optimization capabilities, but activating a plugin isn't evidence that your own publication works correctly.
Run these checks against the live site:
- Inspect the published article. Confirm the canonical URL identifies the preferred article address, then check the meta title and description, featured image, author and date display. Metadata controls may come from your theme or an SEO plugin rather than the standard post editor.
- Test comments behavior. Submit a test comment if comments are enabled, verify its moderation path and confirm that readers receive a clear response.
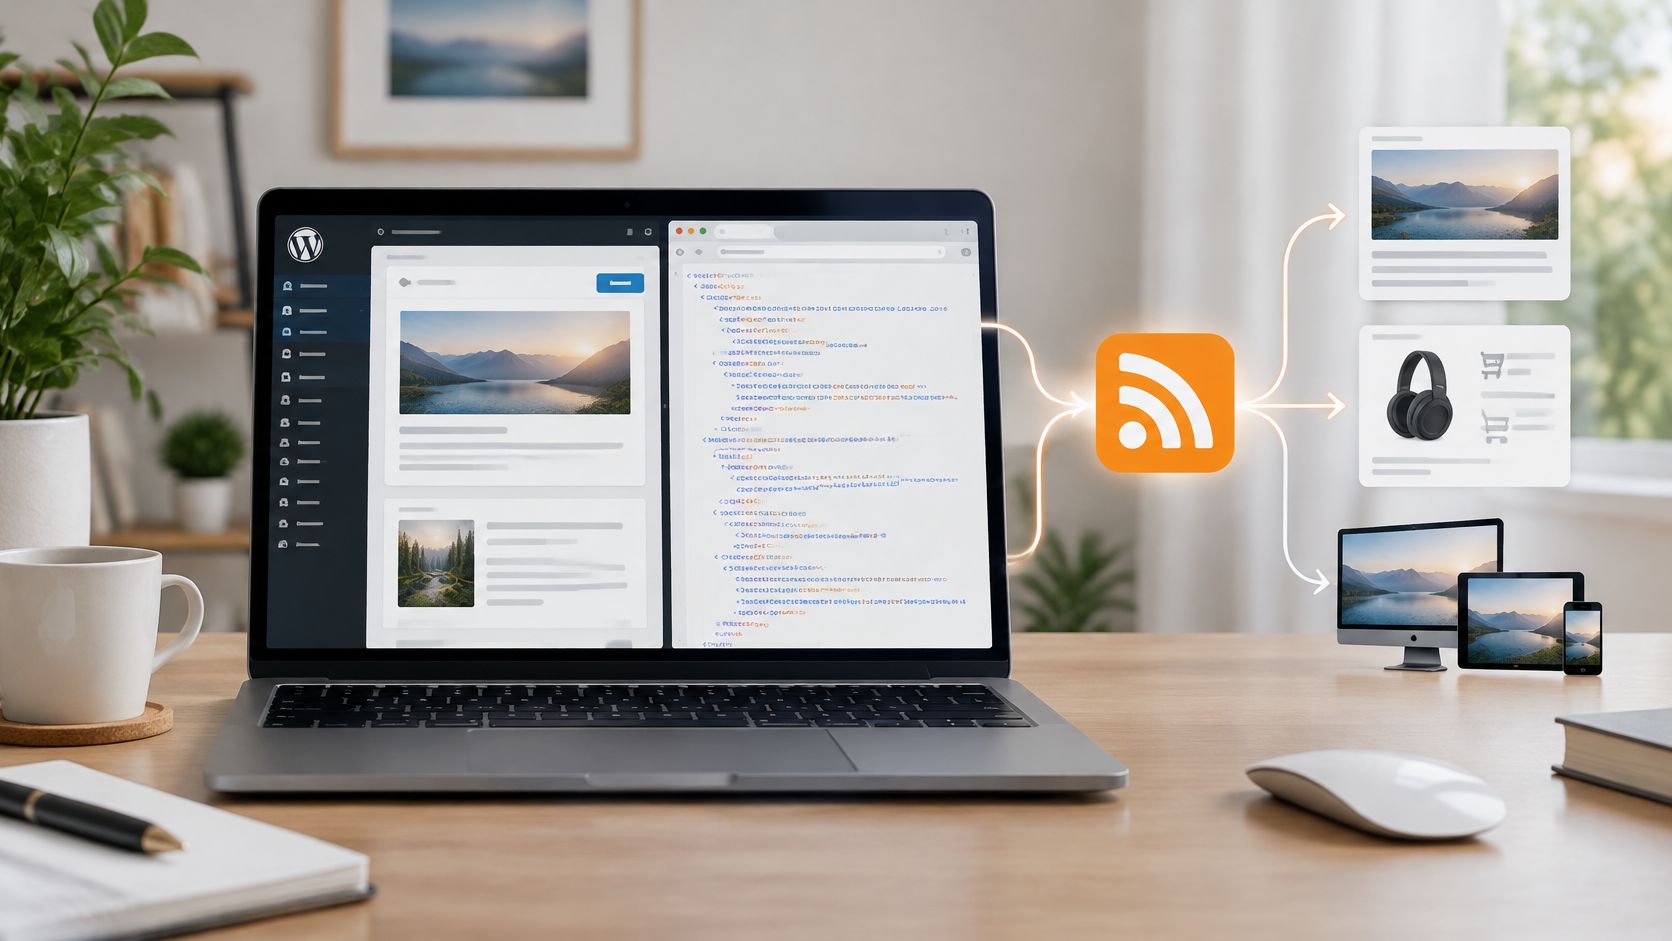
- Confirm RSS inclusion. Open the site's posts feed and check that the new article appears with a working title link and readable content or excerpt. Subscribe through an RSS reader rather than relying solely on how the feed looks in a browser.
- Test discovery routes. Check the homepage, individual post and a successful search. Then search for a term with no matches and verify that the Nothing Found page offers a working search box or another useful route forward.
- Open the comments feed. Confirm that the endpoint remains accessible even when there are no recent comments. An empty feed and a broken feed aren't the same thing.
At Read More Info, we publish general-interest WordPress articles and provide open posts and comments feeds that readers can subscribe to in an RSS reader. That makes feed access part of the reading experience, not an optional technical extra.
Record defects with the affected page, reproduction steps and the expected result. Fix oversized hero images, missing alternatives, broken empty-search states and malformed feed entries before promoting the site, then retest after theme or plugin changes.
Schedule your first review for thirty days after launch as a practical maintenance appointment. Share the site when a visitor can read, move around, search and subscribe successfully, not merely when the Publish button reports success.
Visit Read More Info for general-interest WordPress articles that support your next publishing and site-management decisions. Subscribe to our posts feed for new articles, or add the comments feed to your RSS reader to follow discussion activity.